


Start with one plate, a simple background and several comparable test shots. A phone is enough for this exercise: the aim is to understand your choices, not to immediately imitate an advertising campaign. The steps depend on your device and its camera app.
1. Find light that makes the dish easy to see
Find a spot near a window, with no direct sunlight on the plate. In its food photography guide, Adobe suggests indirect or diffused window light and points out the colour casts that some household lighting can introduce. This starting point does not dictate a single aesthetic.
For your test, focus on whether the ingredients are clearly visible and whether a shiny area draws too much attention. Take a picture, turn the plate slightly, then compare. In a restaurant, ask permission before moving a table or changing any lighting; do not disrupt service.
2. Decide what the image should convey
A dish, a table set for sharing or the atmosphere of an establishment do not call for the same framing. Choose a priority: if you are showing the plating, the accessories should not become the main subject.
Try three viewpoints: from above to see the arrangement, lower down to see the shapes and volumes, then an intermediate view. These are approaches to compare, not three mandatory formulas. Stay on the floor and do not climb onto a chair to achieve your framing.
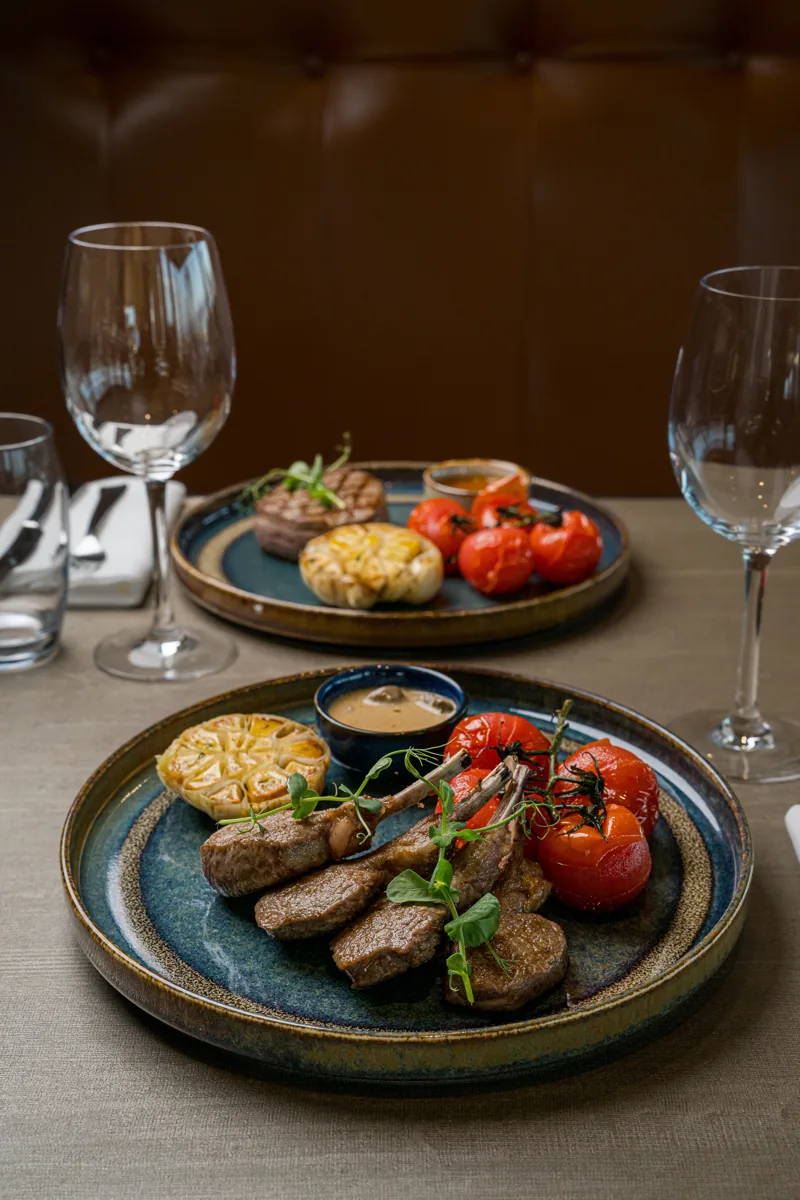
3. Check sharpness and brightness before taking more shots
Choose the detail that needs to be sharp, then check the saved file by enlarging it. A small image can hide a flaw that may later be visible on a menu or website.
On the iPhone described in the Apple guide for iOS 26, tapping the screen lets you position the focus area; the nearby slider adjusts exposure. Pressing and holding lets you lock focus and exposure. These instructions apply to this interface, not to all phones. For your model, consult the app's help and check that the setting remains appropriate if you change your distance.
4. Remove before adding
Take a first version with just the dish. Then, if it supports your intention, add a piece of cutlery or an element of the meal. Compare it with the first image: if it distracts attention, remove it. Adobe also recommends documenting the setup as it develops, rather than keeping only its final state.
Before finishing, inspect the edges: an unintentionally cropped glass, an overly prominent napkin, a personal item left behind. For a menu or publication, also keep a version with some space around the dish so you can test the crop actually intended.
A six-image exercise
- Images 1 to 3: the same plate and the same light, three different viewpoints.
- Images 4 to 6: keep your preferred viewpoint, then compare the dish on its own, with a prop and with slightly wider framing.
Then look at the six files side by side. Note for each one: is the dish immediately recognisable, is the important detail sharp, does the background support the image? This exercise is offered as a learning activity; it does not describe a test carried out by Tim and does not guarantee a commercial result.
To revisit the concepts behind these choices, see the essential photography basics. This guide covers smartphone photography in practice, not choosing a camera or diagnosing bands under LED lighting.
Written by TimFocus. Adobe and Apple sources consulted on 18 October 2026. Educational advice and exercise, with no purchase recommendation or invented personal experience.